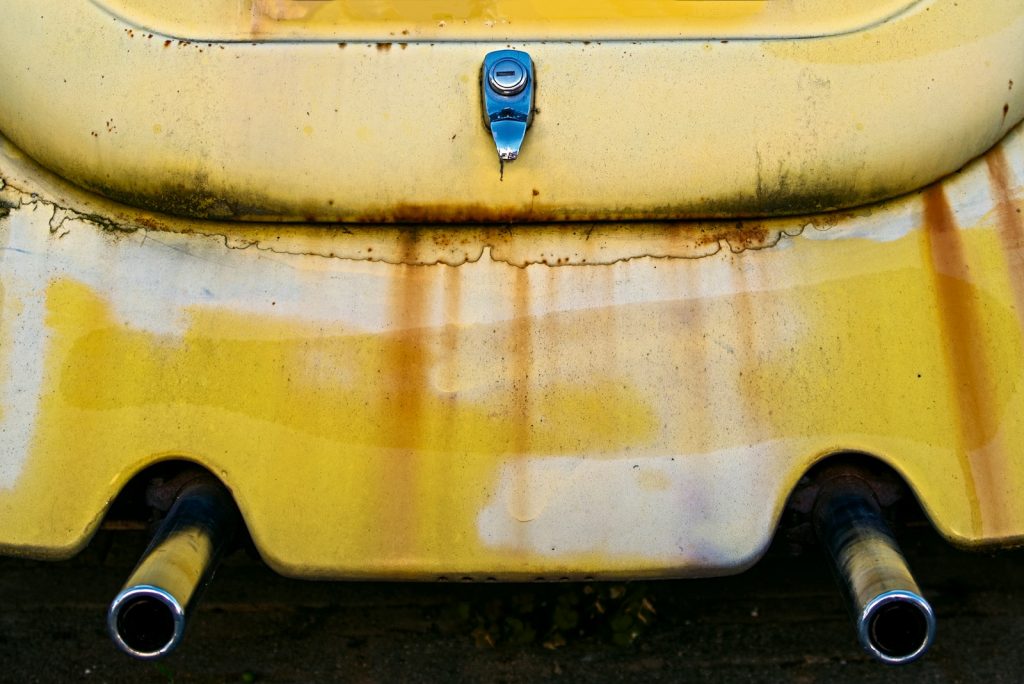
How to fix large paint chips on a car can be more than just a solution for car owners. If left untreated, they can expose the metal underneath to moisture, leading to corrosion and costly repairs. Whether caused by flying road debris, gravel, or accidental bumps, large chips need immediate attention to maintain both your car’s aesthetics and value. Fortunately, with the right tools, materials, and guidance, you can fix large paint chips yourself at home.
How to Fix Large Paint Chips on a Car
Why Large Paint Chips Matter
Large paint chips expose bare metal to moisture and air, creating a high risk of rust that leads to structural damage and costly repairs. Addressing chips promptly preserves resale value and keeps the vehicle protected and presentable.
Causes and Types of Paint Chips
Road debris such as stones and gravel are the most common causes of large chips. Other causes include environmental exposure, poor maintenance practices, and low-quality paint jobs. Chips range from shallow clear coat damage to deep chips that reveal primer or bare metal; the deepest chips require immediate rust treatment and primer before repainting.
Tools and Materials You Need
- OEM-matched touch-up paint — obtain your color code from the driver-side door or owner manual.
- Automotive primer for exposed metal.
- Clear coat for gloss and protection.
- Sandpaper in 800, 1500, and 2500 grit.
- Isopropyl alcohol or wax and grease remover, microfiber cloths, masking tape, and small applicators such as fine brushes or toothpicks.
- Rubbing compound and polishing wax for final blending.
- Rust remover or converter if rust is present.
- Optional: spray can handle for better control and a UV or heat lamp to speed curing.
Step-by-Step Guide to Repairing Large Paint Chips
- Clean the area thoroughly. Wash with car shampoo, dry, then remove oils with isopropyl alcohol or a pre-paint cleaner to ensure proper adhesion.
- Sand the damaged edges. Use 800-grit to feather the paint edges and create a smooth transition between the chip and surrounding paint. Avoid sanding past the damaged zone.
- Treat any rust. Remove rust mechanically or apply a rust converter and let it dry fully. Painting over rust traps the problem and causes future failure.
- Apply primer to bare metal. Put down a thin primer layer, allow it to dry, and lightly sand with 1500-grit for a smooth base.
- Apply touch-up paint in thin coats. Shake the paint well and use small applicators. Build color slowly with multiple thin layers, allowing full drying between coats until the repair is slightly raised above the surrounding surface.
- Seal with clear coat. After paint cures, apply thin layers of clear coat and allow recommended curing time for best results.
- Wet-sand and blend. Use 2000–2500 grit wet sandpaper to level the repair while keeping the surface wet to prevent scratches. Take care not to sand through the clear coat.
- Buff and polish. Use rubbing compound to restore gloss, then apply polishing wax to protect and match the sheen of the surrounding panel.
Tips for a Professional Finish
Work in a dry, non-windy shaded area to avoid dust, debris, and rapid temperature changes that ruin wet paint and clear coat. Use several thin coats instead of one thick coat to prevent runs and texture mismatch. Match the OEM color code exactly to avoid visible color differences. Allow full curing time before aggressive sanding or polishing.
Common Mistakes to Avoid
- Skipping rust treatment and sealing bare metal.
- Using non-automotive paints such as nail polish.
- Applying a single thick layer of paint.
- Sanding before the paint and clear coat have fully cured.
When to DIY and When to Seek a Professional
DIY repair is appropriate for isolated chips and if you have patience and steady hands. Professional body shops are recommended for widespread damage, chips near panel edges, or when color blending across a panel is necessary for an invisible repair. Professionals can use spray blending and advanced finishing techniques to match texture and gloss seamlessly.
Preventing Future Paint Chips
- Install Paint Protection Film on high-impact areas such as the front bumper and hood.
- Consider ceramic coating for improved surface durability and hydrophobic properties.
- Maintain a safe following distance from gravel trucks and aggressive road debris sources.
- Wax regularly to strengthen the paint’s protective barrier.
Resources and Further Learning
Video tutorials demonstrate step-by-step visual techniques and are useful for seeing brush control, layering, and blending in action.
Conclusion
Fixing large paint chips restores protection and appearance while preventing long-term rust and costly repairs. With the right materials, careful preparation, and patient layering, a DIY repair can produce a durable, attractive result. Address chips promptly to keep your vehicle looking its best and avoid major repainting costs.
Also Read: How to Fix a Dent in a Car

